Custom domains and subdomains
Subdomains
By default your tools sit on Simplified web addresses. This page covers moving them onto your own, so customers only ever see your business.
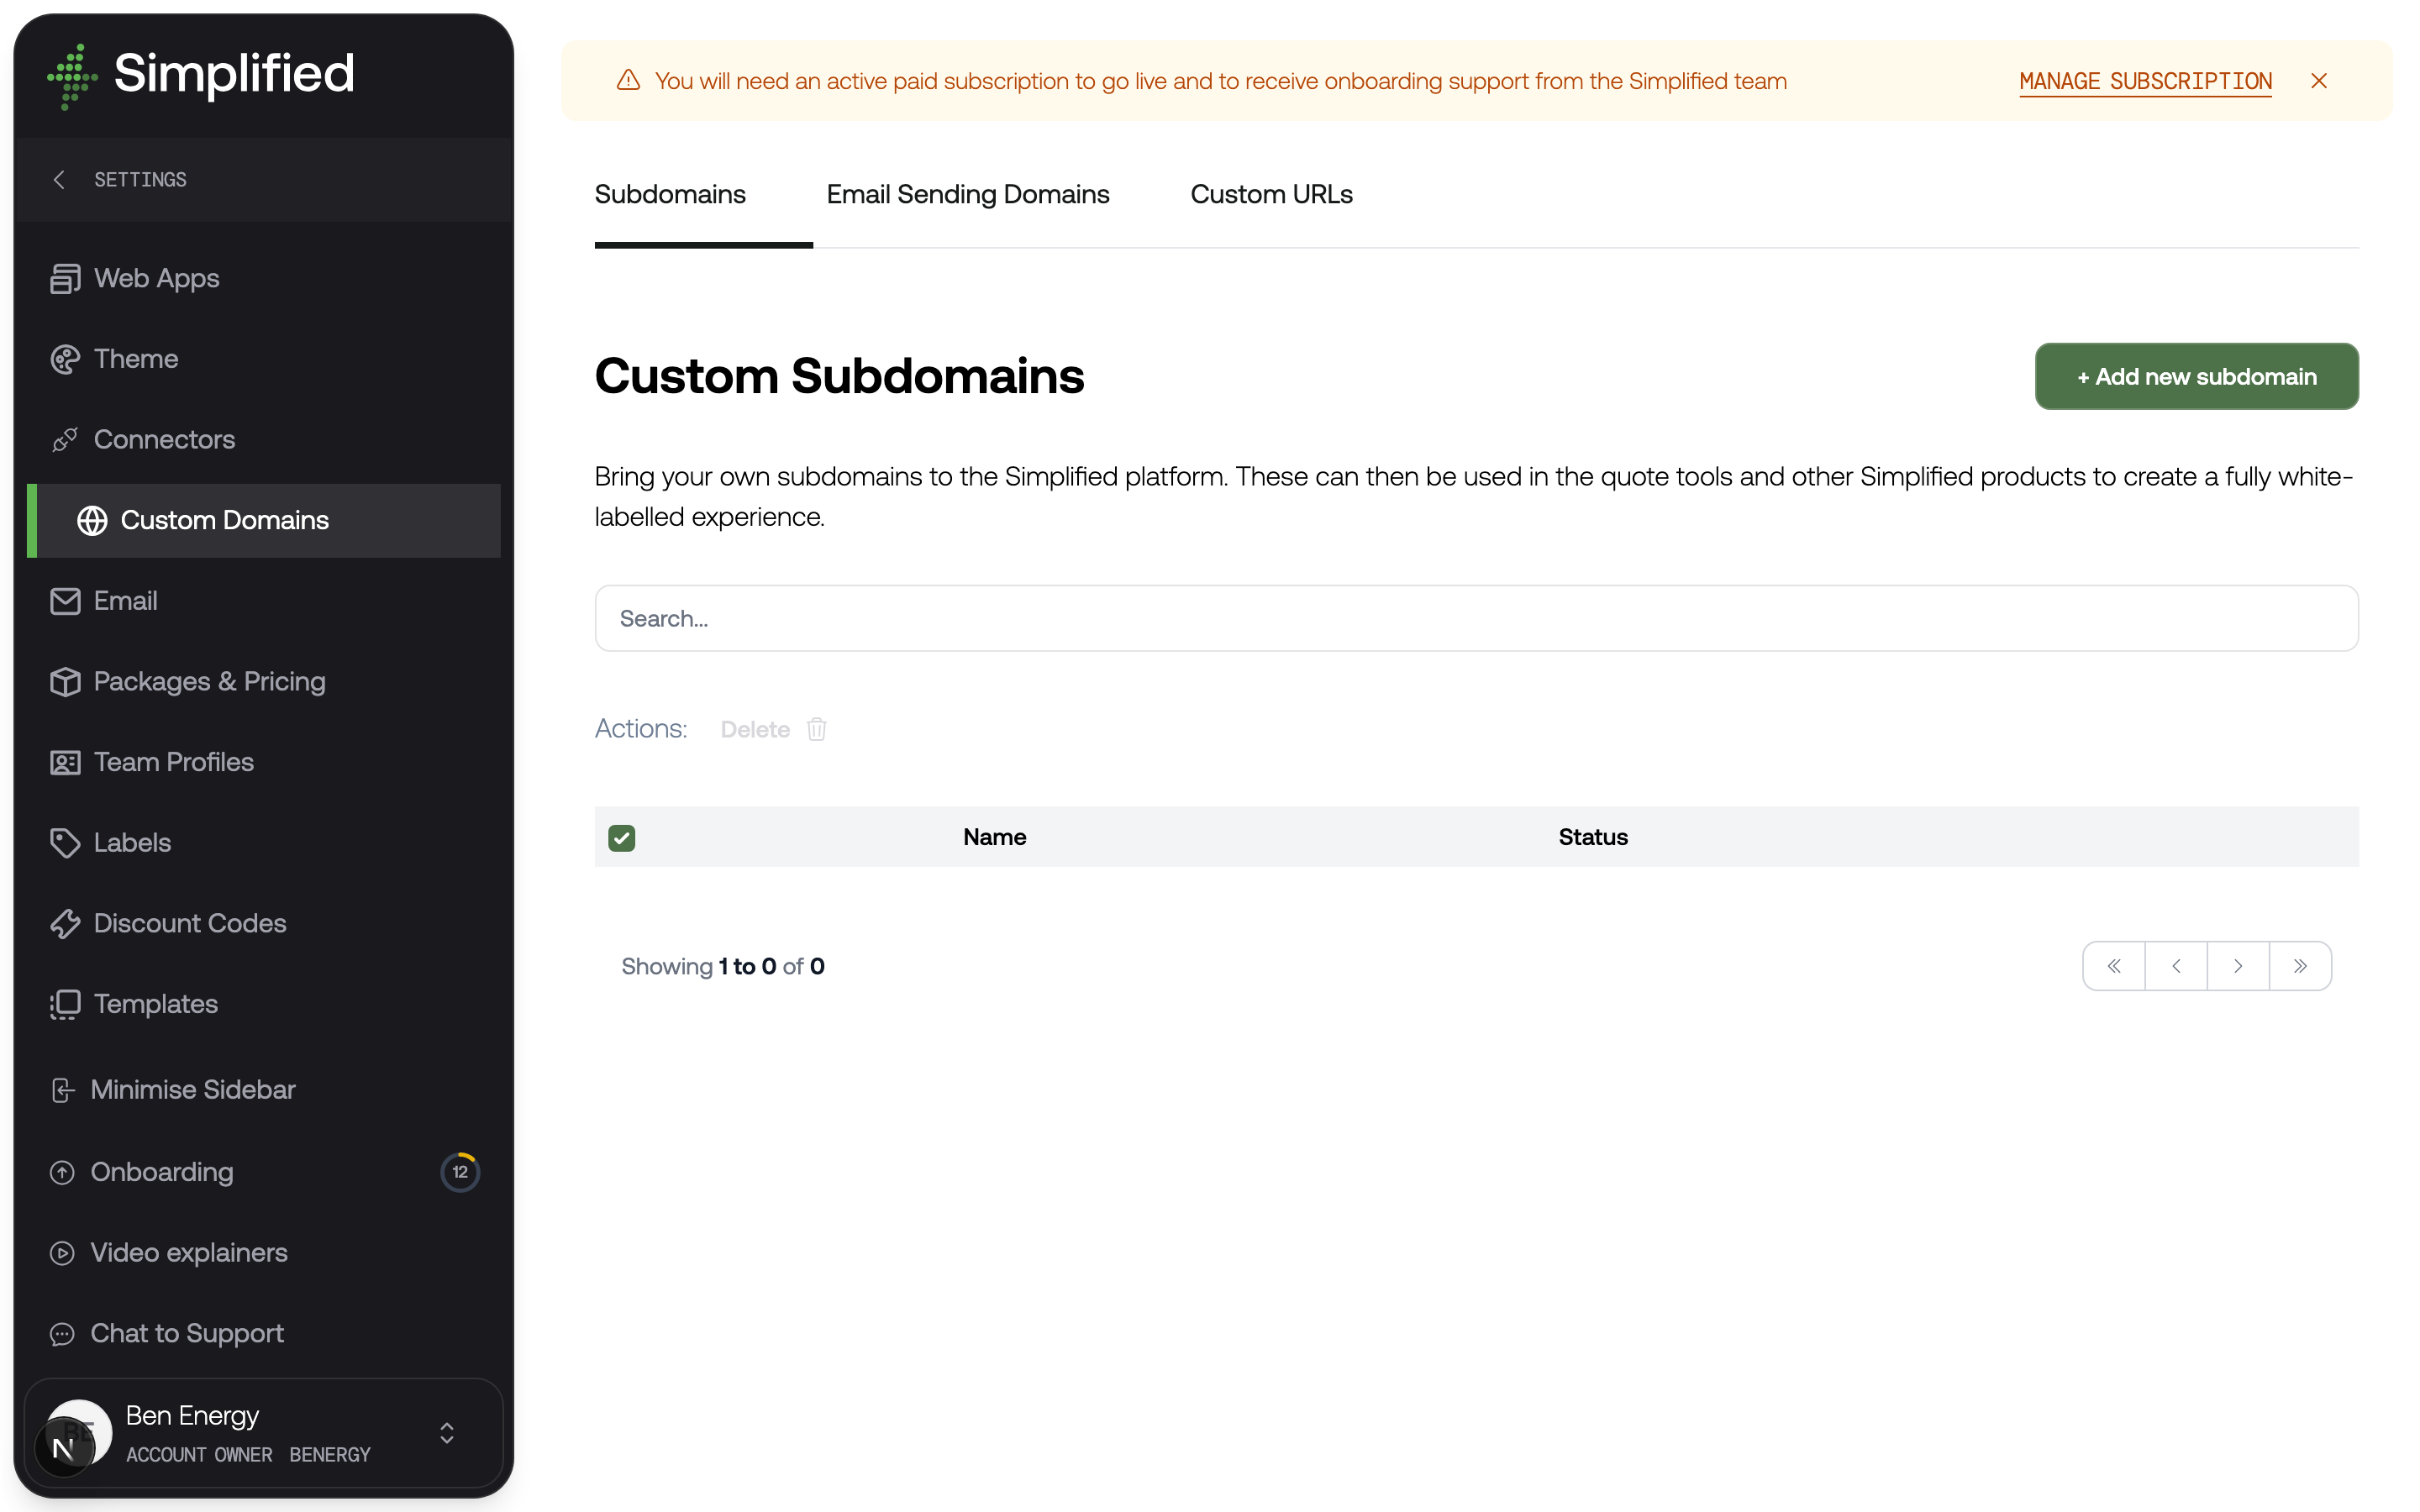
Find this under Settings → Custom Domains, which has three sections: Subdomains, Email Sending Domains, and Custom URLs.
Before you start
- You need access to the DNS settings for your domain — usually with whoever you bought it from, or whoever built your website. If that is not you, this is the step to hand over.
- Decide what you want your address to be. Something like
quote.yourbusiness.co.ukorestimate.yourbusiness.co.ukis typical.
The two-step model
This trips people up, so it is worth stating plainly. Getting a tool onto your own address takes two steps in two different places:
- Register the subdomain and verify it with a DNS record. This proves you control it.
- Create a custom URL mapping that verified subdomain — optionally with a path — to a specific app.
Step one alone does nothing visible. Until you do step two, the subdomain is verified but points at nothing.
Step 1: Register a subdomain
- Go to Settings → Custom Domains → Subdomains.
- Click Add new subdomain.
- Enter the subdomain you want, such as
quote.yourbusiness.co.uk. It needs to be a subdomain rather than a bare domain, soyourbusiness.co.ukon its own will not be accepted. - You will be shown a CNAME record to add: a record type, a name (the first part of your subdomain, so
quoteforquote.yourbusiness.co.uk), and a value to point it at. - Add that record with your DNS provider.
- Come back and use Refresh Status.
The status shows whether DNS is valid yet. DNS changes are not instant — they usually apply within minutes but can take longer, so if it is not valid immediately, wait and refresh again rather than changing anything.
Step 2: Map it to an app
- Go to Settings → Custom Domains → Custom URLs.
- Click to add a custom URL.
- Choose which app it is for — a quote tool, the customer portal, or the Proposals App.
- Choose the domain from your verified subdomains.
- Optionally add a path, such as
/solar. Leave it blank to serve the app from the root of the subdomain.
So quote.yourbusiness.co.uk with path /solar serves your Residential Solar Quote Tool at https://quote.yourbusiness.co.uk/solar.
You can map several URLs to the same app. One per app type is marked as the default, and that is the address used in links inside emails sent on your behalf — so set the default to the address you most want customers to see.
Sending email from your own domain
Settings → Custom Domains → Email Sending Domains lets your customer emails come from your own address rather than a Simplified one.
This needs a different set of DNS records from the subdomain step — a DKIM record and a return-path record, both shown to you per domain. Add them with your DNS provider, then use Refresh Status.
Worth doing before you send anything at volume. Email from your own authenticated domain is considerably less likely to land in spam, and a quote that arrives in a junk folder is a quote you have lost without knowing.
You can mark one domain as the default sender.
Check it worked
- Open your custom URL in a browser. The quote tool should load, with no Simplified address in the bar.
- Work through a quote to confirm nothing is broken by the new address.
- If you set up email sending, complete a quote with your own email address and confirm the message arrives from your domain and not in spam.
If DNS will not verify
- Check for a typo in the record name. It should be just the first part of the subdomain, not the whole thing — though some DNS providers expect the full name, so check how your provider handles it.
- Check you have not created a conflicting record for the same name. An existing A or CNAME record on
quotewill fight with the new one. - Give it time. Some providers are slow to publish changes.
- Check the record was created as a CNAME, not an A record or a redirect. Some website builders offer a "forwarding" option, which is not the same thing and will not verify.
What's next
- Web apps and URLs — finding the addresses themselves
- Email — what gets sent to your customers