How quote tools work
An instant quote tool is a page your customer works through on their own. They enter their address, describe their property, compare the system options you offer, and get a real price — without waiting for a callback or a site visit.
You get a separate tool for each product type, because the questions worth asking a solar customer are not the questions worth asking a boiler customer.
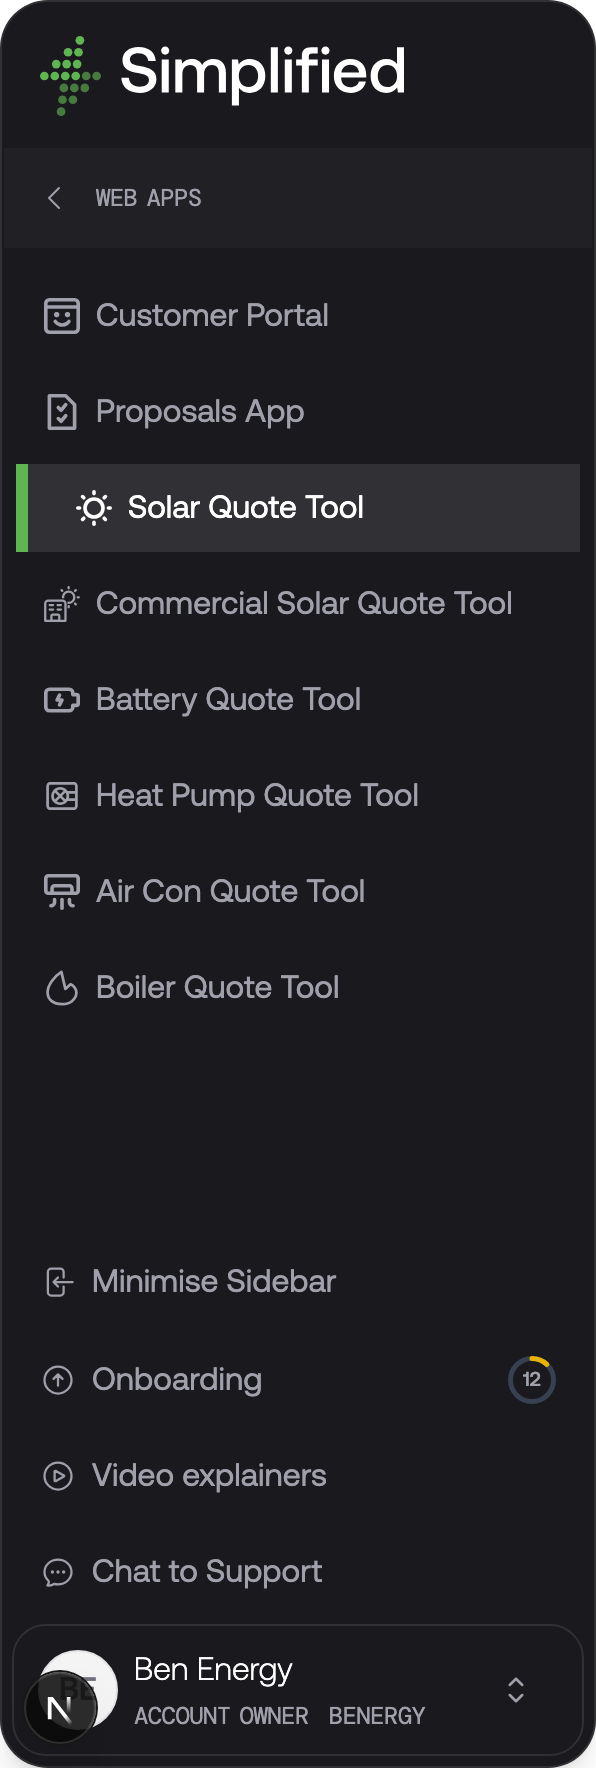
The tools
- Residential Solar Quote Tool — residential solar, with a roof designer
- Commercial Solar Quote Tool — larger sites, with usage profiles, tariffs, and savings over time
- Battery Quote Tool — battery retrofit, including alongside existing solar
- Heat Pump Quote Tool — air source heat pumps, including grant eligibility
- Air Con Quote Tool — room-by-room air conditioning design
- Boiler Quote Tool — boiler replacement
You do not have to use all of them. Which ones appear in your Installer Portal depends on what your account is set up to offer, so if you only fit heat pumps you will not be distracted by the rest.
What they share
Every tool follows the same pattern, which means learning one teaches you most of the others.
Your customer always starts by confirming where the property is, always ends by choosing a package and seeing a summary with a price, and can always be asked for their details and an acceptance at the end. What differs is the middle: the questions specific to that product.
Behind the scenes they all draw on the same foundations — your hardware catalogue, hardware packages, and pricing models. Configuring a second tool is much faster than the first, because the products and pricing are already there.
Steps unlock as your customer goes
A quote tool does not show all its steps up front. Each step appears only once the previous one has enough information to make it meaningful — the roof designer is not available until there is an address, and the summary is not available until a package has been chosen.
This has a practical consequence when you are testing: if a step you expected is missing, it is usually because an earlier input is incomplete, not because it is misconfigured.
Some steps also disappear entirely when they have nothing to show. The Add-ons step only appears if you have extras available for that quote, so a tool with no extras configured goes straight from savings to summary.
Library settings versus per-tool settings
Each tool has its own configuration, reached from Settings → Web Apps and then the tool you want. Its settings are split across tabs covering content, custom blocks, explainers, defaults, packages, extras, pricing presentation, finance, and integration.
Three of those tabs — Hardware Packages, Extras, and Finance Options — are assignment tabs. They do not create anything. They choose which items from your central libraries this particular tool offers, and in what order. Each has a Manage in library link through to the library itself.
This is deliberate: it lets you offer a different, narrower set of packages through a widget on a landing page than through your main quote tool, without maintaining two catalogues.
Every tool has a web address from day one
Each quote tool is live on a Simplified web address as soon as your account exists. You can open it, test it, and send it to a colleague before configuring any domains.
The address is shown in two places: on the tool's own Overview tab, and on Apps & Embed → Web Apps alongside every other app. When you are ready, you can point your own subdomain at it — see Web apps and URLs.
In this section
- What your customer sees — the journey through each tool, step by step
- Residential Solar Quote Tool settings — a reference for every configuration tab
- Heat Pump Quote Tool settings — a reference for every configuration tab
- Boiler Quote Tool settings — a reference for every configuration tab
- Air Con Quote Tool settings — a reference for every configuration tab
- Battery Quote Tool settings — a reference for every configuration tab
What's next
If you have not yet built your catalogue, packages, and pricing, start with Core concepts — a quote tool has nothing to show until those exist.